No products in the cart.


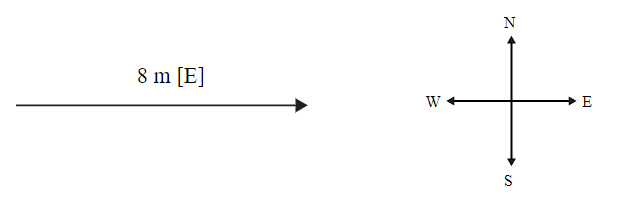
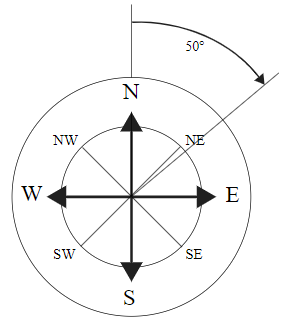
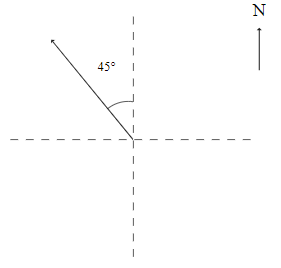
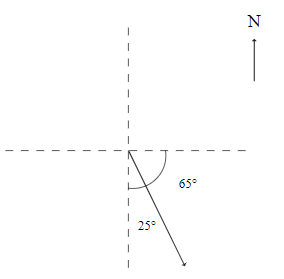
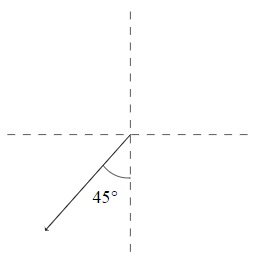
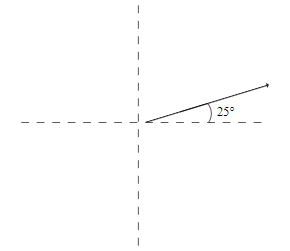
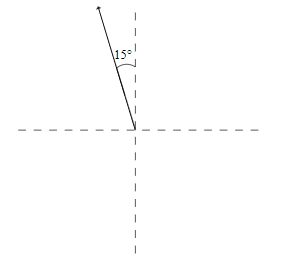

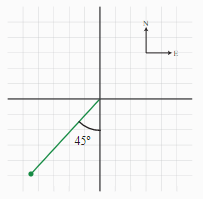


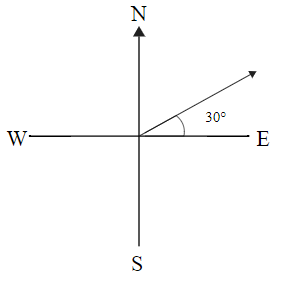
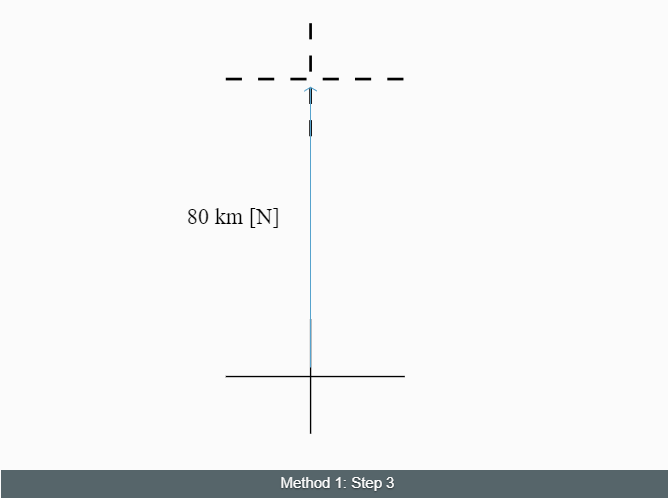
Draw a reference point.
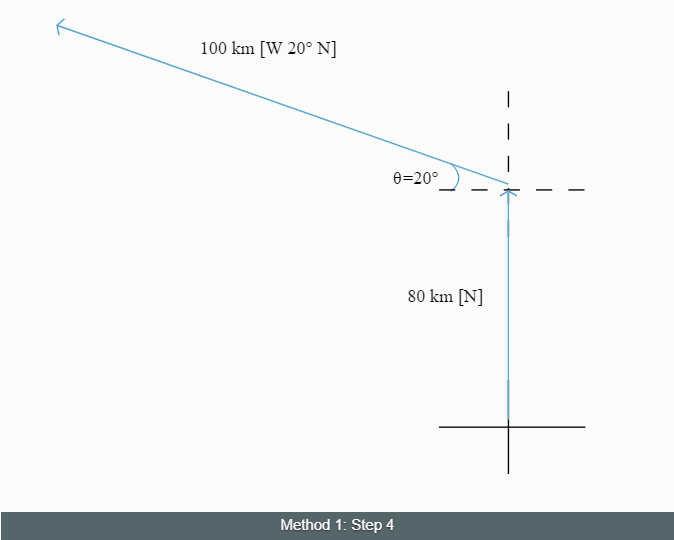
Use your protractor to find the position of the angle.
Example: If the angle is [east 30° north] start on the east line and move 30° north.
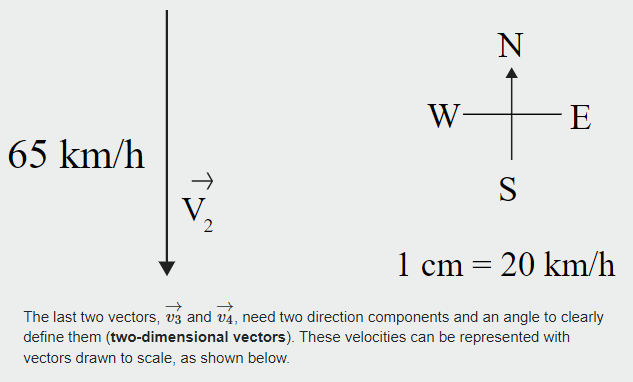
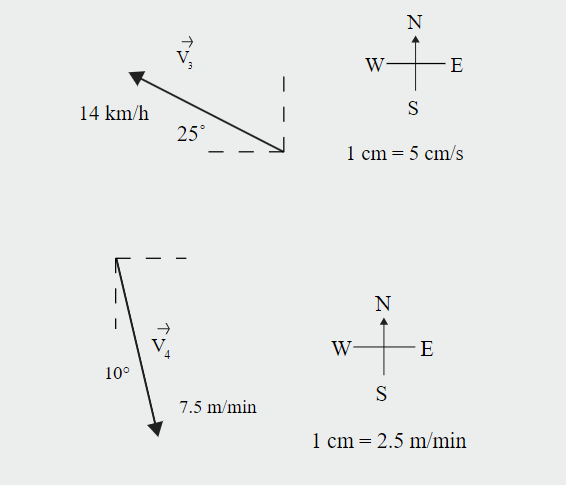
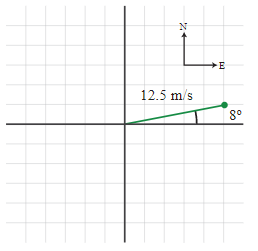
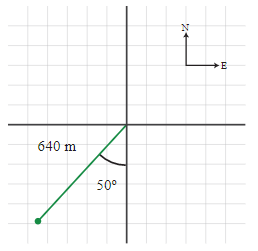
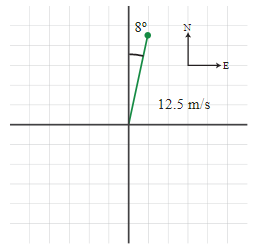
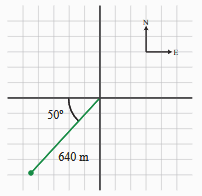
Choose a scale.
Example: If the vector is 200 km, choose a scale of 1 cm = 100 km. The length of the line should be 2 cm.
Draw the vector along the angle to the correct length (measured using the scale).


Step 1:

Step 2:

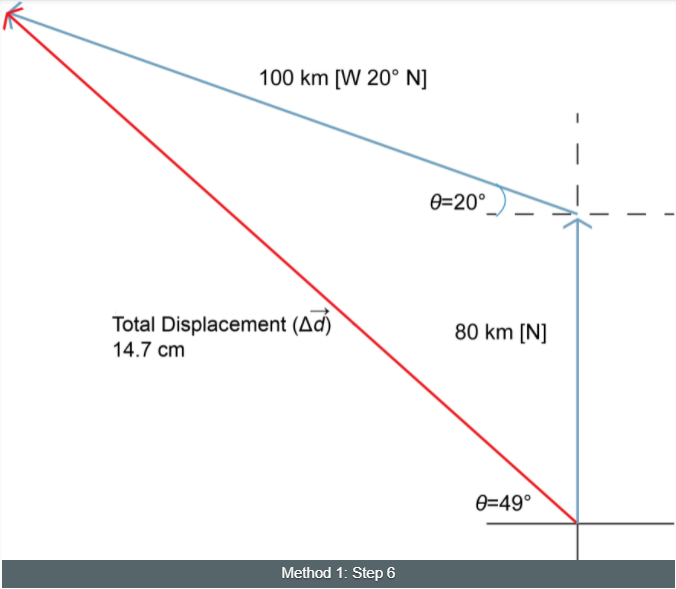
Step 3:


Suggested Answer
Suggested Answer
Suggested Answer
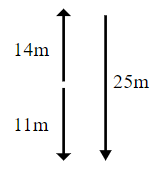
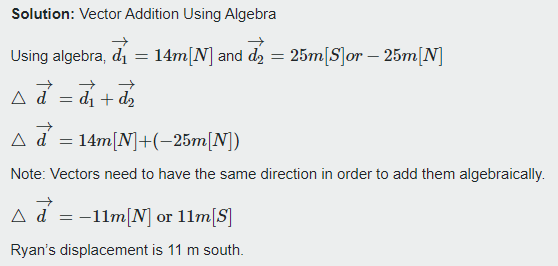
Solution: Vector Addition Using Algebra
You still need to draw a diagram, but it can just be a quick sketch instead of a measured scale diagram.
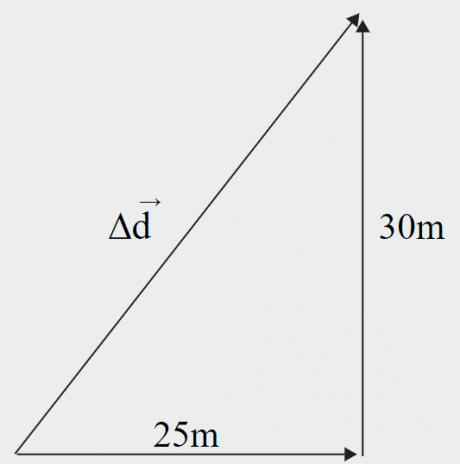
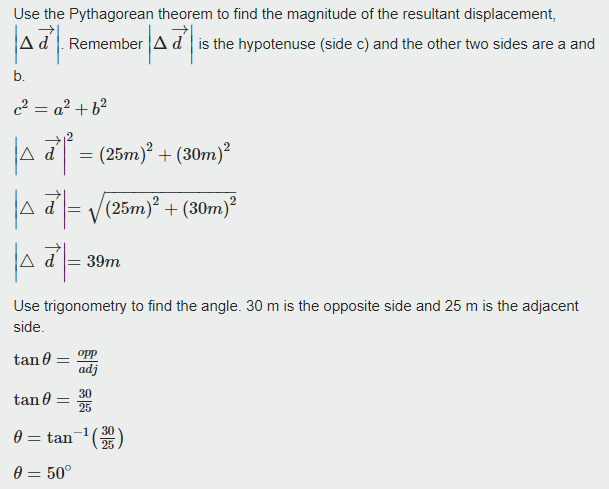
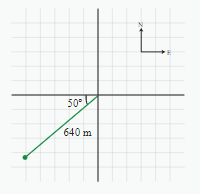
To give the final answer, put the magnitude of the displacement and angle together:
Felicia’s displacement is 39 m [east 50° north]. Check back to the answer you got using scale diagrams and you should see it is the same.
Suggested Answer
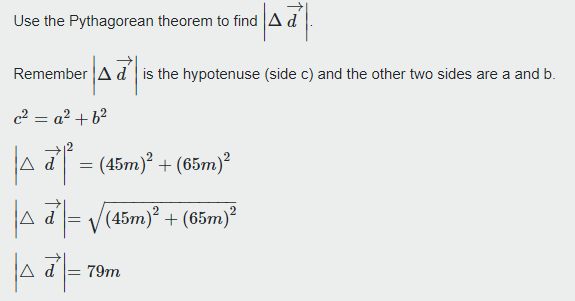
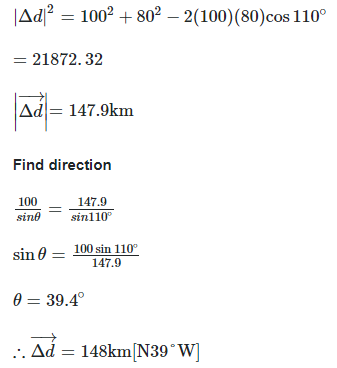
Step 1: Find the hypotenuse

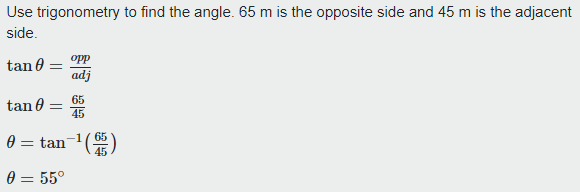
Step 2: Find the angle
Step 3: Put the magnitude of the displacement and angle together
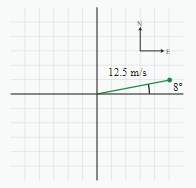
To give the final answer, put the magnitude of the displacement and angle together:
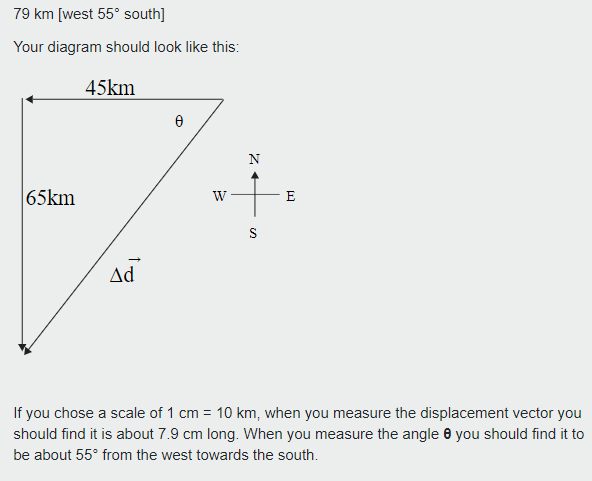
The truck’s displacement is 79 m [west 55° south].
Check back to the answer you got when you used scale diagrams (Method 1) and you should see it is the same.


Suggested Answer
Solution: Using the Pythagorean theorem.
Suggested Answer
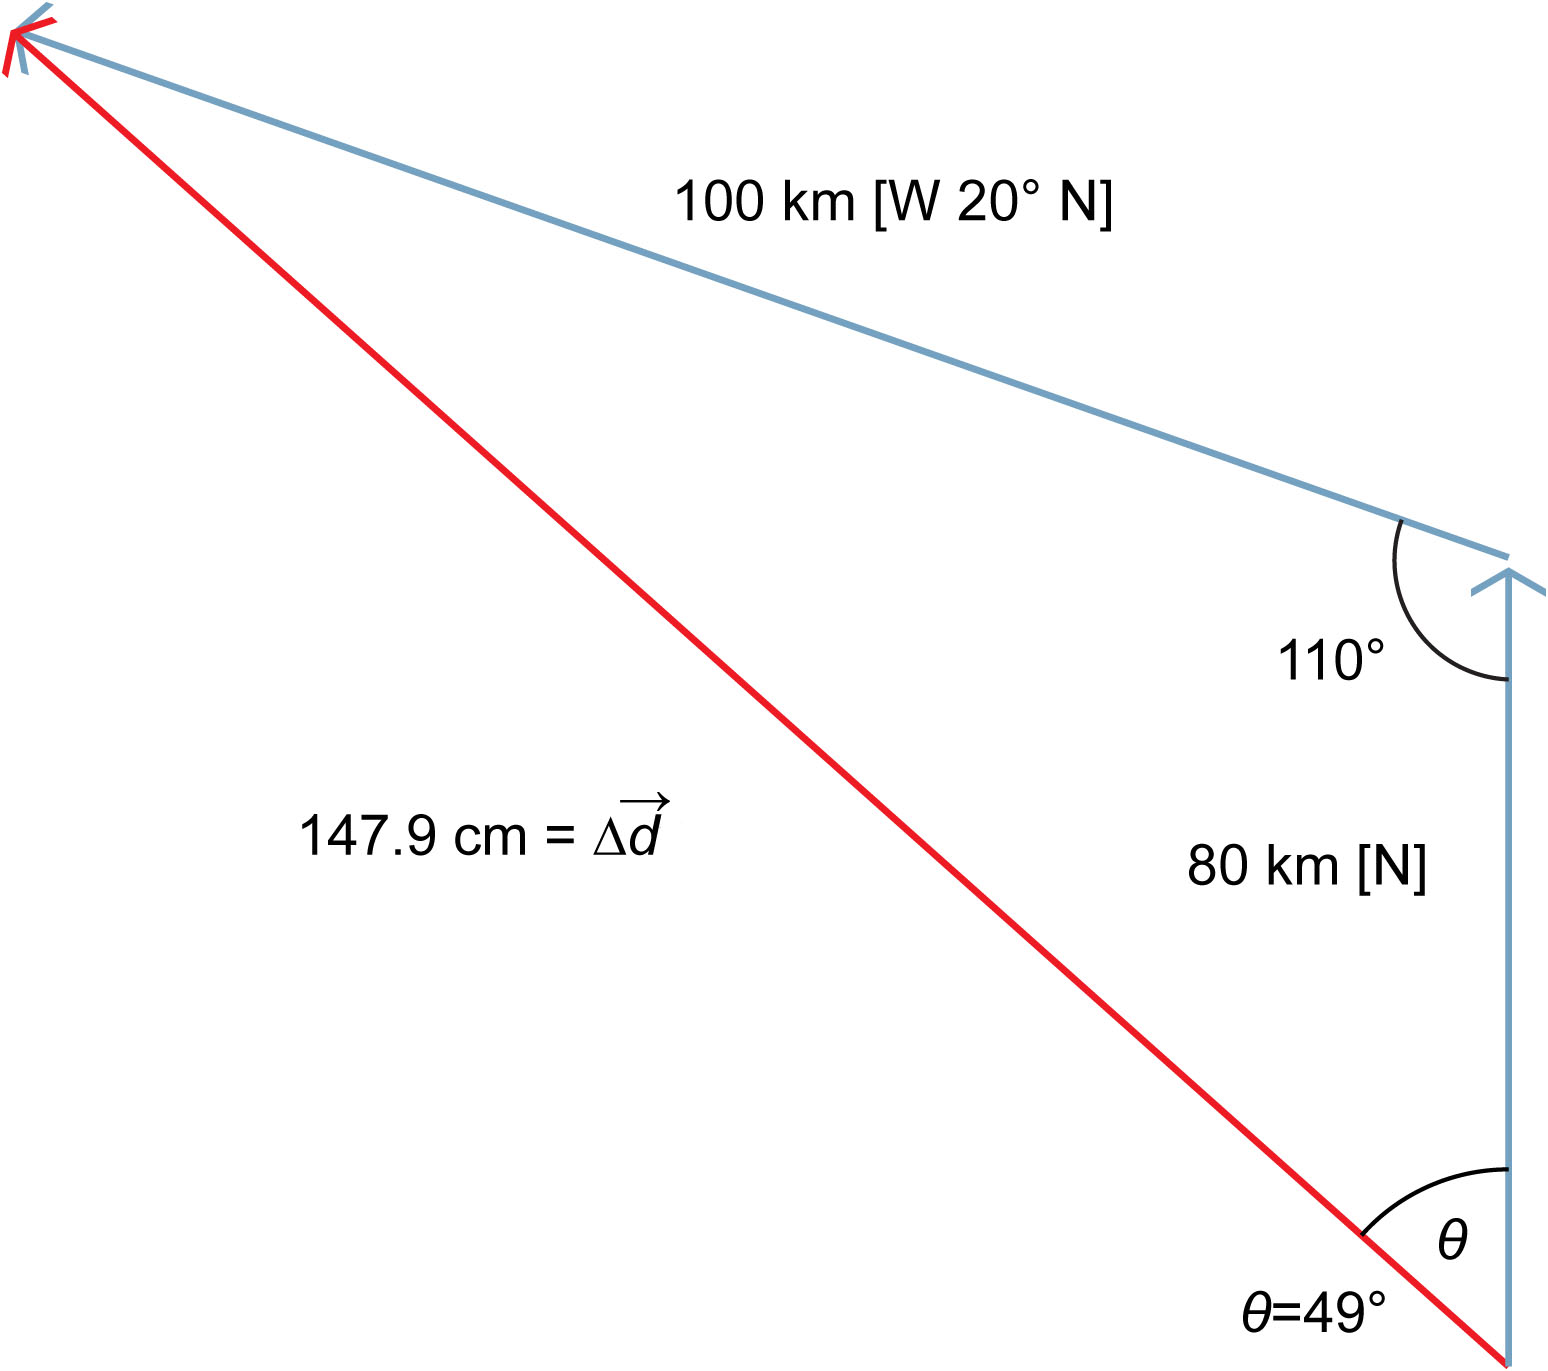
Solution: Using sine and cosine laws.
Suggested Answer
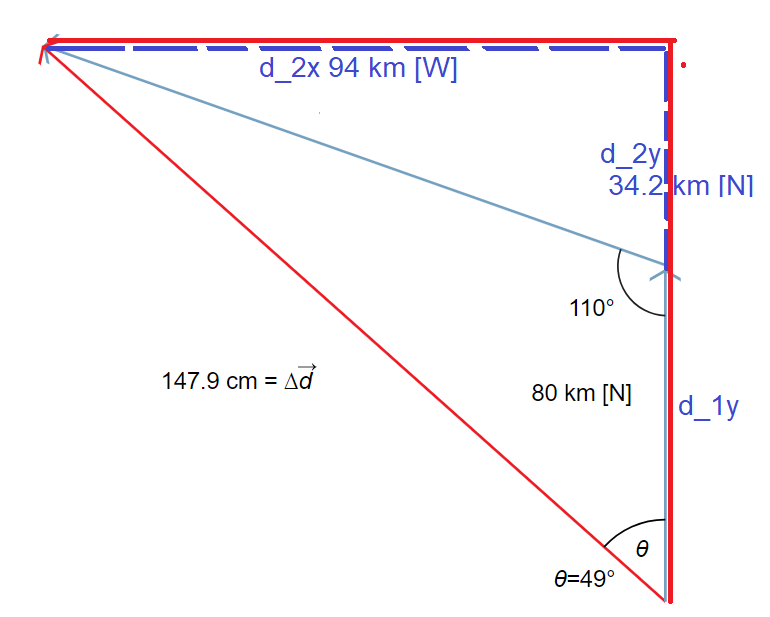
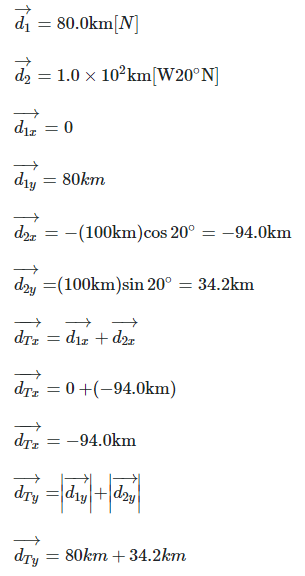
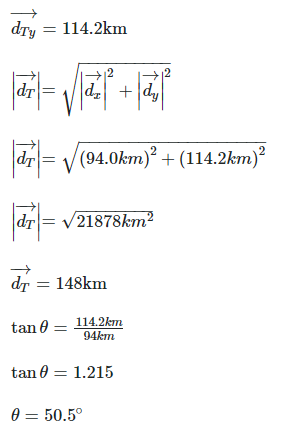
Solution: Using perpendicular components method.
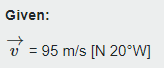
[North] and [East] directions are positive.

a.17 m/s [N]

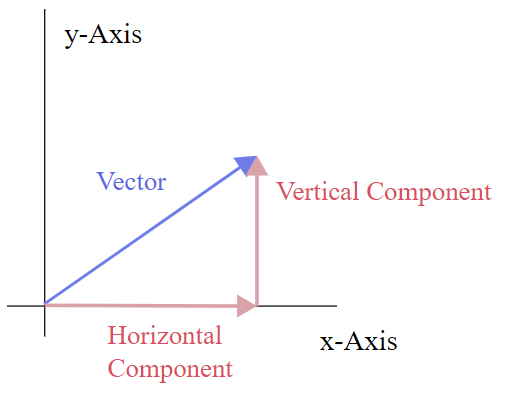
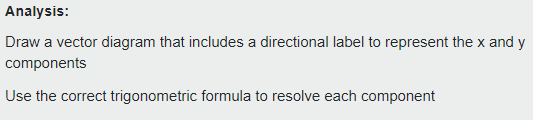
Draw a vector diagram that includes a directional label to represent the x and y components.
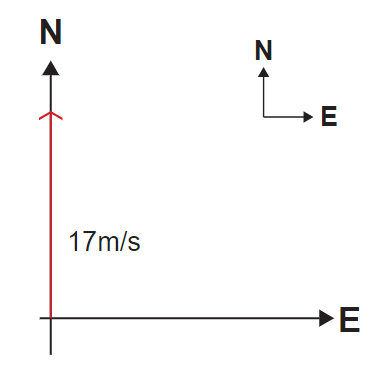
Since vector falls along the north-south vertical line, there is no horizontal component. The vector only has a vertical component.

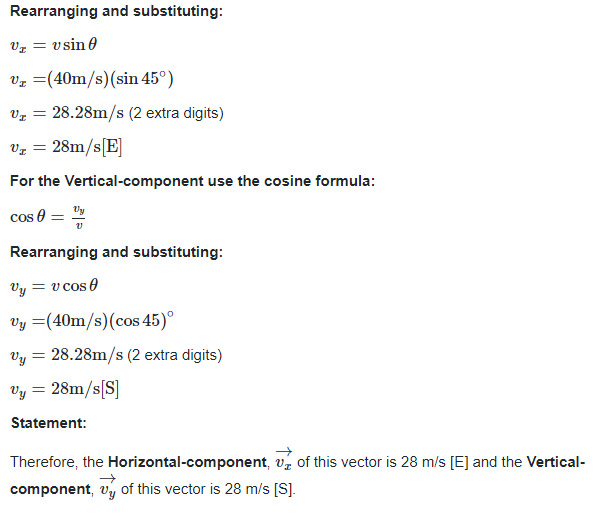
b.40 m/s [S45°E]
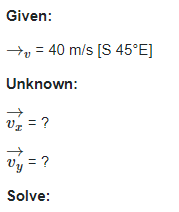
Draw a vector diagram that includes a directional label to represent the x and y components.
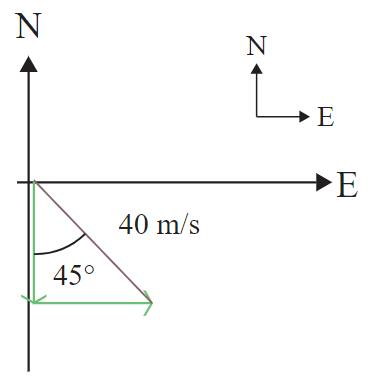
Use the correct trigonometric formula to resolve each component

Suggested Answer
Step 1:
Step 2:

Step 3:
Step 4:


Step 5:
